
Managing Deposit Profiles
To configure deposit profiles, you must have the following role:
- Deposit Manager
Deposit profiles determine how submitted deposits are processed. They are used when a patron creates a deposit (Patron Deposits) or when a staff creates a deposit on behalf of a patron (Staff-Mediated Deposit).
To configure a deposit profile:
- Open the Deposit Profiles page (Resources > Deposit > Manage Deposit Profiles).
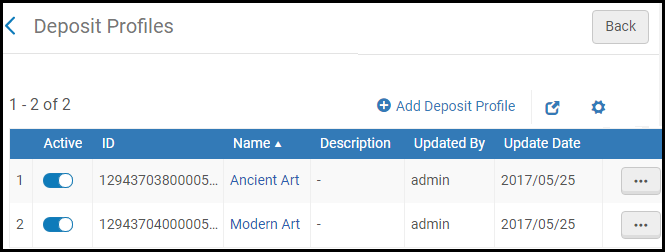
Deposit Profiles - Select Add Deposit Profile. The Deposit Profile page appears.
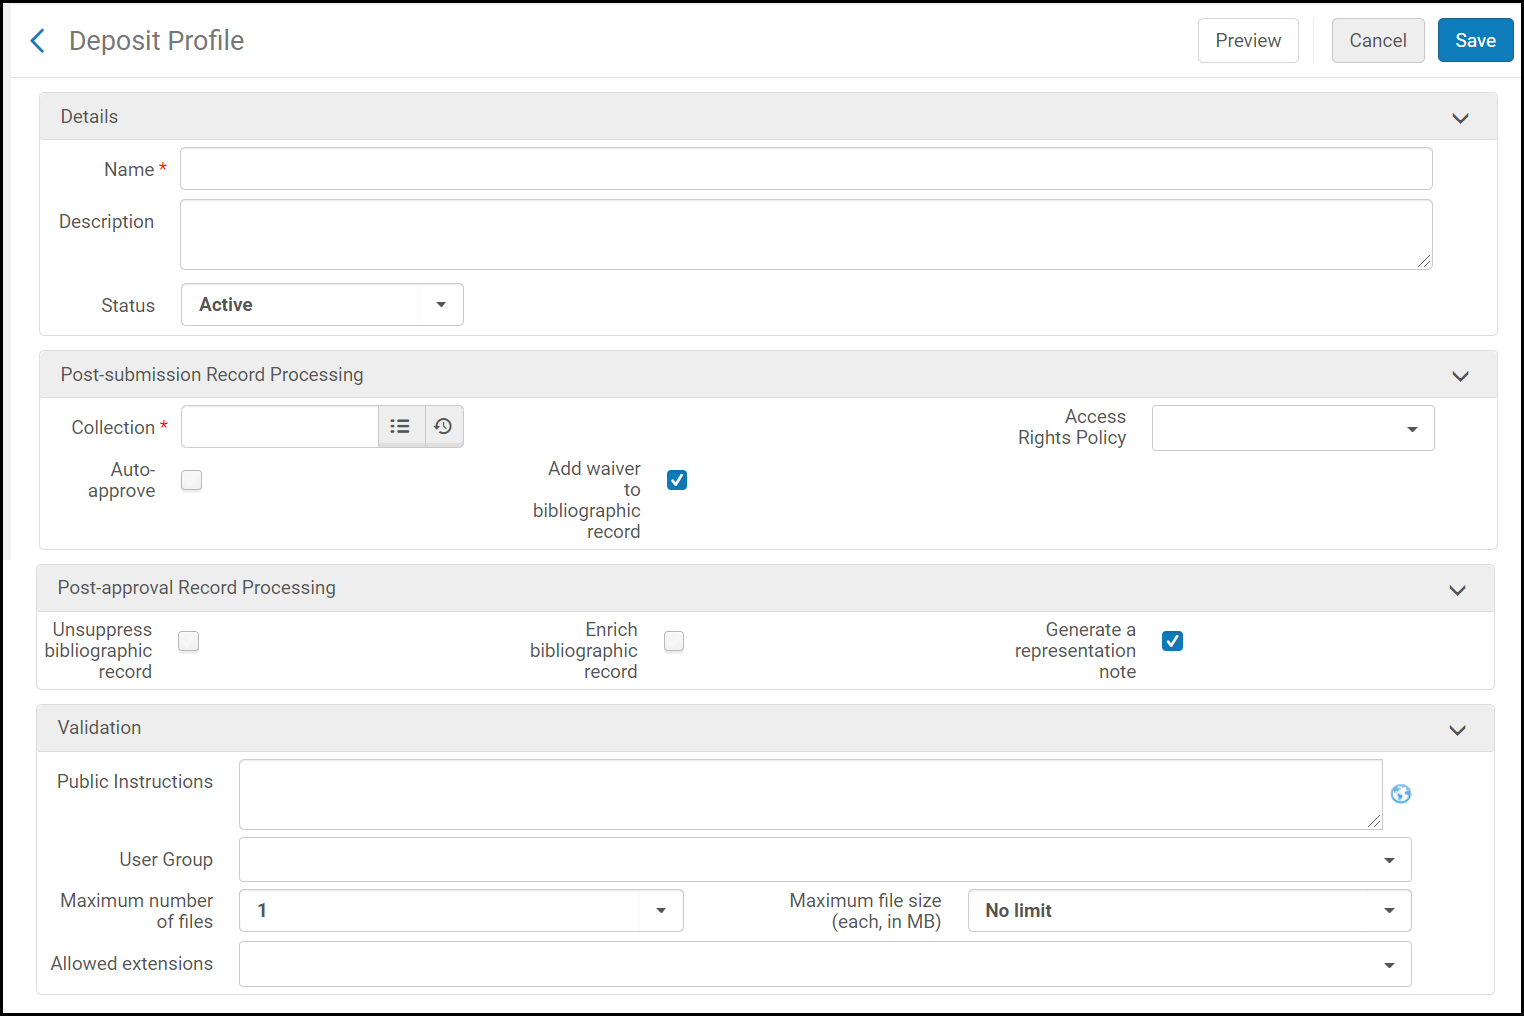
Add Deposit Profile - Fill in the fields according to the information in the following table:
Deposit Profile Field Description Name The name of the deposit profile. Must be unique. Required. Description An internal description for staff. Status Select Active to allow deposits to this profile. Collection The collection to which the bibliographic records created with this profile are assigned. If the collection you select has a form associated with it, the patron or staff user fills the fields of the form when depositing with this profile. For more information, see Managing Collections. The created representation is added to the library of the selected collection.Access Rights Policy The access rights policies to assign to the representation created by the deposit. Auto-approve Select to have deposits automatically approved. - Staff-mediated deposits are auto-approved whether or not this is set in the deposit profile.
- You cannot change the auto-approve setting of an existing deposit profile.
Add waiver to bibliographic record Save the waiver agreed to by the patron in the bibliographic record. Unsuppress bibliographic record Select to have the bibliographic record unsuppressed when the deposit is approved. Enrich bibliographic record Select to enrich the bibliographic record with metadata when the deposit is approved. The following fields are added: - For Dublin Core Records:
- dcterms:dateSubmitted(Deposit create date YYYY-MM-DD)
- dcterms:dateAccepted(Deposit modified date YYYY-MM-DD)
- dcterms:provenance submitted by(patron user ID)
- dcterms:provenance deposit ID(deposit ID)
- dcterms:provenance approved by(operator user ID or auto-approved)
- For MARC records:<marc:datafield tag="541" ind1="0" ind2=" "> <marc:subfield code="a">Patron ID: {ID}</marc:subfield> <marc:subfield code="c">Deposit. Terms: {ToU}</marc:subfield> <marc:subfield code="d">Received: {YYYY-MM-DD}</marc:subfield> <marc:subfield code="e">Deposit ID: {ID}</marc:subfield> </marc:datafield> <marc:datafield tag="541" ind1="0" ind2=" "> <marc:subfield code="a">Approver ID: {ID}</marc:subfield> <marc:subfield code="d">Approved: {YYYY-MM-DD}</marc:subfield> </marc:datafield>
Generate a representation note Select to copy deposit approval notes to the representation when the deposit is approved. Public Instructions Instructions visible to patrons (for example, file format expected, maximum size, etc.). Select the globe icon to configure public notes in different languages. User Group The user groups for whom the profile is available. Maximum number of files The maximum number of files that can be deposited per deposit. Options are 1-5 and No limit. Maximum file size (each, in MB) The maximum size of the files allowed in the deposit Allowed extensions The extensions of the files allowed in the deposit - Select Preview to display a preview of the form configured for the collection to which the profile is assigned. If no form is assigned to the collection, the default form containing the Title and Abstract fields appears.
- Select Save.
Page tags: article:topicproduct:almacontent:Documentationlang:englishdeposit profiles
