
The Automatic SP Installation Method
The About page in the Back Office allows to download, distribute, and install SP and hot fix files automatically on your Primo system.
If you prefer to install updates manually, refer to the following sections:
Sites that use multiple BO or FE topologies must install SPs and hot fixes manually. Please refer to the following procedures:
-
From a web browser, enter the URL for the Back Office home page, for example:
http://primo.exlibris.com:1602/primo_publishing/admin/acegilogin.jsp -
Click the About link. The following page opens:
 About Page - Check for Updates
 -
Click the Check for updates link. If an SP is found, the following page opens:
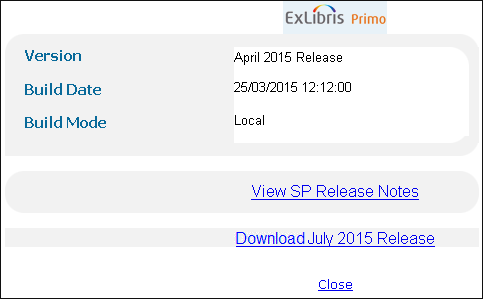 About Page - Download SP
If an SP is not available, the About page displays the following message with a timestamp:
There is no new SP -<time><date> -
If an SP is available, click the Download <month><year>Release link to download the SP package to the following directory on the BO server (see About Page - Distribute SP), where <v> is the Primo version in which Primo was first installed, and <x> is the Primo copy:
/exlibris/primo/p<v>_<x>/ng/primo/home/system/publish/service_pack_downloadWhen the download is complete, the following page opens: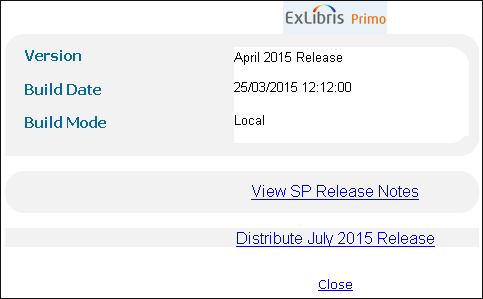 About Page - Distribute SPIf the download does not complete for any reason, invoking the download again will resume the download from the point at which it was stopped.
 -
Click the Distribute <month><year>Release link.
When the distribution is complete, the following page opens: About Page - Install SPThe distribution places the files under the following directory on all Primo servers per installation:/exlibris/primo/p<v>_<x>/service_pack_install
 -
Click the Install <month><year>Release link.
The installation time varies per site and configuration. -
Enter the following commands to stop the Primo Apache server:
apcb./apachectl stopIf the Apache server is not running, you will see and can ignore the following error message:
./apachectl stop: httpd (no pid file) not running -
Stop all Primo servers (be_stop,fe_stop and/or se_stop), as determined by the roles (BE, SE, and FE) supported on this server. For example, if the Primo server supports the BE, FE, and SE roles, enter the following commands:
be_stopfe_stopse_stopFor sites using a multiple FE configuration, you must stop the BE server before stopping the FE servers. -
Start all Primo servers (be_start,fe_start and/or se_start), as determined by the roles (BE, SE, and FE) supported on this server. For example, if the Primo server supports the BE, FE, and SE roles, enter the following commands:
be_startfe_startse_startTo prevent a startup failure, start the FE server before the SE server. -
If the Apache server was stopped in step 7, enter the following commands to restart the Primo Apache server:
apcb./apachectl startWhen port 80 is configured, you must use the following commands as the root user to start the Apache server:
cd /exlibris/primo/p3_1/primoe/apache/bin./apachectl_auto -
Run manual and optional implementation scripts as described in the Release Notes. For more information, see Running Implementation Scripts.
-
If you need to conserve disk space, you can remove files under the following directories, but you will need to download the SP if you decide to roll back the SP and re-install it:
-
/exlibris/primo/p<v>_<x>/service_pack_install
-
/exlibris/primo/p<v>_<x>/ng/primo/home/system/publish/service_pack_download
Do not remove files in the /exlibris/primo/p<v>_<x>/service_pack directory. -
-
From the Primo Back Office home page, click Deploy All to complete the installation.
Page tags: article:topicProd:Primocontype:documSP Installation Guideproduct:primocontent:Implementation_Guideslang:english
