
Creating an IP Range
When end users access the Front End without signing in, Primo uses the user's IP or the view (depending on the value of the Default Institution parameter in the Views wizard) in order to determine the user's institution.
IP ranges are also used to determine whether the users are on or off campus. Only signed-in users or users within the IP range will be able to search restricted search resources.
The Edit IPs page allows you to create one or more groups of IP address ranges per institution. When users log on to Primo, their IP-based user group determines specific settings and restrictions. You can also load a list of IPs from a tab-delimited file. For more information, see Loading IPs.
- On the Institutions List page, click Edit next to the institution to which you want to add an IP range.The Edit Institution page opens.
- Click Save & Continue to continue to the Edit IPs page.The Edit IPs page opens.
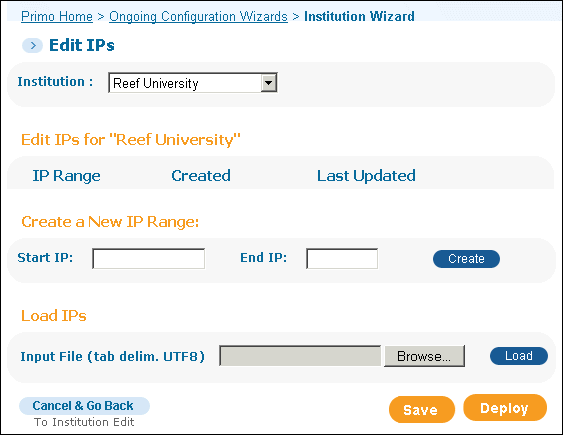 Edit IPs Page
 -
In the Create a New IP Range area, enter the IP ranges for the institution.
Create a New IP Range Details Field name Description Start IP
The start of the institution's IP addresses range, in IP address format.1
End IP
The end of the institution's IP addresses range, in IP address format.*
1Each group of numbers within the IP address must be 0 to 255—for example, 204.171.64.2. - Click Create.The new IP range appears in the IPs list.
- Click Save.
- Click Deploy to deploy your changes to the Front End.
Page tags: article:topicProd:Primocontype:documBack Office GuideConfiguring Primo Institutions and Librariesproduct:primocontent:Documentationlang:english
