
Primo VE August 2017 Release Notes
The following features are new or changed in this month's release of Primo VE.
Support of Tags and Tag Management
This enhancement enables the Tag functionality in {{suprima}}, which also includes tag management (see Manage User Tags). Tags allow librarians and other users to categorize records into lists, which are indexed and shared with other users on the Tags page.

From this page, users can search for tags, view the most popular tags, view recently added tags, view my recently added tags, and display the list of records that have been tagged. The numbers in parentheses beside the tag names indicate how many records have been marked with the tag.
Clicking the tag name in the Tag results, opens the results page, which displays a filled-out Advanced Search box followed by the list of records. Users can then modify the search to find additional records. In the following example, only a single record had been tagged:

Creating Tags in the New UI
All users can view tags and their lists, but only signed-in users can create tags.
-
Perform a search for a record.
-
Open the record's full display page.
 Tags Section on Full Display Page
 -
In the Tags section, click ADD YOUR OWN TAGS.
 Enter Tag Name
 -
Type the name of the tag on the line and press [RETURN].
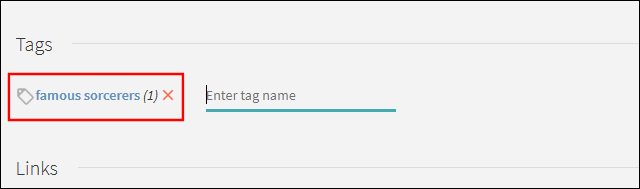 New Tag Added
Deleting Tags in the New UI

Users can delete only their own tags.
-
On the Tags page, click the tag that you want to edit.
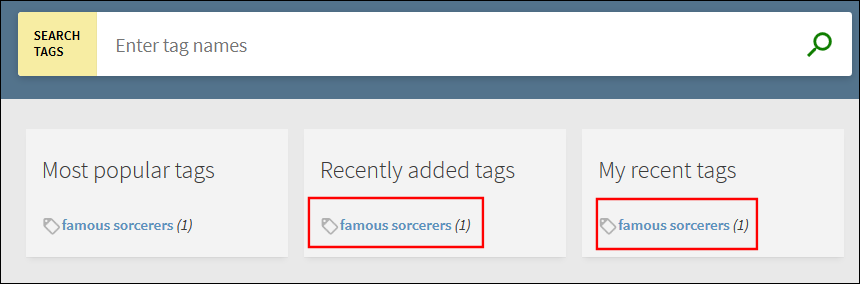 Find Tag to Delete
 -
On the results page, open the record's full display.
 Delete Record's Tag
 -
In the Tags section, click the X next to the tag that you want to remove.
Configuration Options
The following table describes the configuration that supports this functionality.
| Element | Description |
|---|---|
|
Links Menu tab in View Configuration |
Enables/Disables the tags functionality and the Tags link that displays on the Main menu in {{suprima}}. |
|
Full Record Services tab in View Configuration |
The Tags service displays in the Full Display view of the record. |
|
Tag Management |
The Manage Tags page (Discovery Configuration > Display Configuration > Manage Tags) allows staff users to monitor the tags that have been added by users and remove any that appear inappropriate. For more information, see Manage User Tags. |
|
View Labels code table |
The following code has been added for the Tags link in the Main menu:
The following code has been added for the Tags link's tooltip when hovering over the link:
|
|
Tags Tile Labels code table |
Defines the display labels that are associated with tags. Specific codes for the new UI start with the default.nui prefix. |
|
GetIT! Tab1 Labels code table |
The following new code defines the name of the section in the record's full display:
|
Export to BibTeX
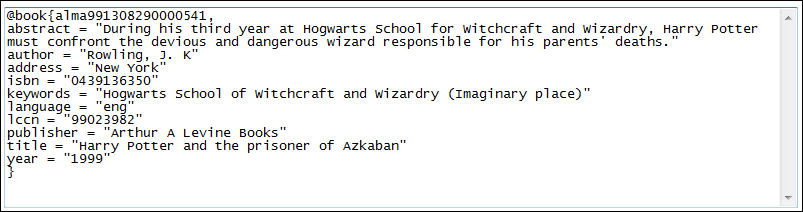
This enhancement allows users to export a record to BibTex format from either the Brief or Full display pages using the new Export BibTex action.
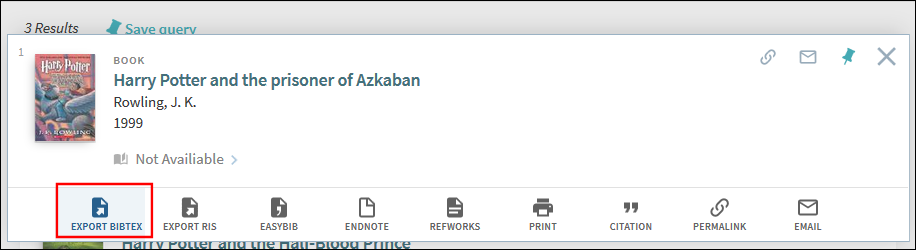
The following figure shows an example of an export to BibTex:
Configuration Options
| Element | Description |
|---|---|
|
Brief Record Display tab in View Configuration
|
The BibTeXPushTo code allows you to enable/disable this action under the Keep This Record Actions section.
|
|
Keeping This Item Tile Labels code table
|
The following code has been added for the Export BibTex action:
|
Hide Request Forms under Fulfillment Menu
The following links will be hidden under the Fulfillment Configuration menu and displayed only under the Discovery Configuration menu for {{suprima}} environments:
-
Labels
-
Primo View to Libraries
-
Hold Request Form Customization
-
Booking Request Form Customization
-
Digitization Request Form Customization
-
Resource Sharing Form Customization
Item Display Configuration
This enhancement allows you to configure the information that appears in the following areas under the Get It section on the record's full display page.
-
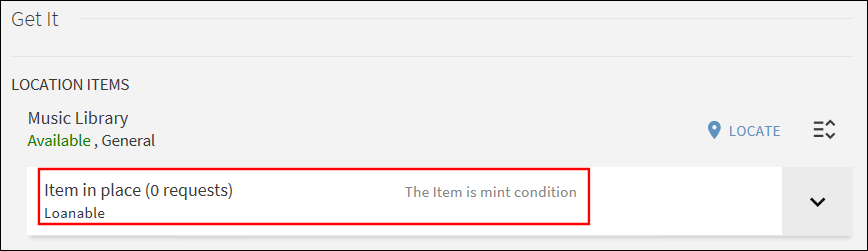
Brief item display - This section opens instantly and can contain up to four displays lines (two on each side). Out of the box, {{suprima}} displays the item's status, terms of use, and the item's description on separate display lines if available for the item. You can configure up to four display lines. Each line can contain up to three fields, which are separated by your choice of delimiter.
-
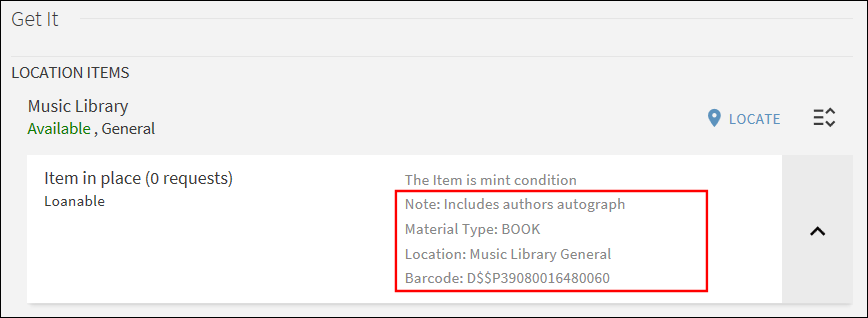
Full item display - The user must click the down arrow
 to display the information that appears in these display lines. Out of the box, {{suprima}} displays the additional call number, public notes, material type, location (which includes the library, location, and call number fields), and the barcode on separate display lines if available for the item. You can configure up to 12 display lines. Each line can contain up to three fields, which are separated by a space.
Configuration Options
The following table describes the configuration that supports this functionality.
| Element | Description |
|---|---|
|
Display Items |
The Display Items page (Discovery Configuration > Display Configuration > Display Items) allows you configure the display lines for both the brief and full item display areas under the Get It service. For more details, see Configuring the Brief and Full Item Displays. |
|
Item Display Brief Display Labels code table |
This table configure the labels in the brief item display. |
|
Item Display Full Display Labels code table |
This table configure the labels in the full item display. |
Display of Generic FRBR Record
FRBR groups are used to group records with multiple versions so that duplicate records are not displayed in the results. When displaying FRBR groups in the results, you have the following options:
-
Preferred record - With this option, {{suprima}} picks a preferred version from the FRBR group and displays its information. When selected, users are taken to the preferred record by default. Users can access the other versions by clicking the See all versions link.
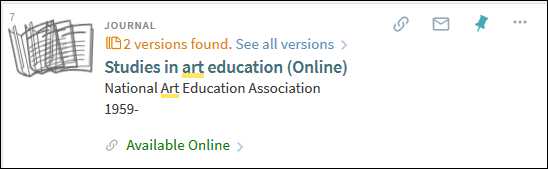 Preferred Record Shown in {{suprima}}
 -
Generic FRBR record - This is the new default option in the system. With this new option, {{suprima}} displays generic information that applies to all versions and does not include availability information and record actions in the brief record display. When selected, users are taken to a results list, which contains all of the record's versions.
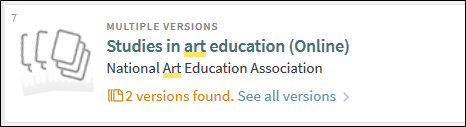 Generic Record Shown in {{suprima}}
Configuration Options
The following table describes the configuration that supports this functionality.
| Element | Description |
|---|---|
|
Brief Results tab in View Configuration |
The following FRBR configuration options are available in the FRBR Display section:
|
|
Results Tile Labels code table |
The following codes define the labels for generic and preferred record versions:
|
Browse Search
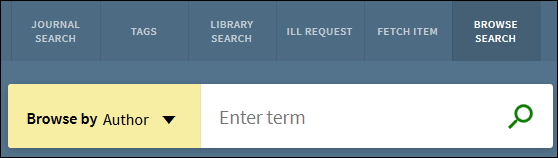
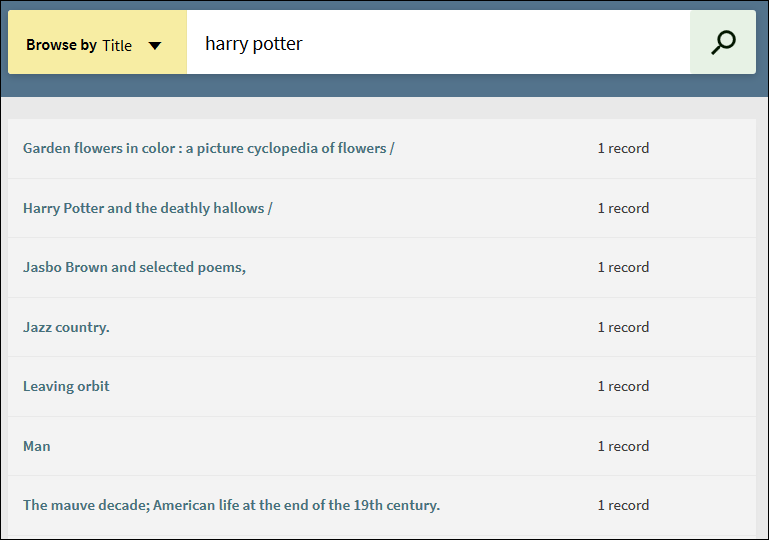
This enhancement enables the Browse functionality in {{suprima}}. A browse search returns an alphabetical list (based on the type of browse selected and the search terms specified by the user). Each item in the results list returns a list of related records. Currently, the following types of browse searches are supported: Author, Title, and Call Numbers of the following types: Library of Congress, Dewey, and SUDOC.
The following figure shows an example of the alphabetical list returned by a title browse. Users can then click one of the items in the list to display the brief results for the item.
Configuration Options
The following table describes the configuration that supports this functionality.
| Element | Description |
|---|---|
|
Links Menu tab in View Configuration |
Enables/Disables the Browse link that displays on the Main menu in {{suprima}}. In addition, you can specify which of the following types of Browse are offered to users: Author, Title, Call Number types (0 - Library of Congress, 1 - Dewey, 3 - SUDOC). |
|
View Labels code table |
The following code has been added for the Browse link in the Main menu:
The following code has been added for the Browse link's tooltip when hovering over the link:
|
|
Browse Search Labels code table |
Defines the display labels that are associated with browse. |
Block User Groups from Restricted Records
-
On the Discovery Configuration menu (Configuration Menu > Discovery), click Restricted User Groups (Central Index/EBSCO) under Authentication to open the User Groups with Restricted Access page.
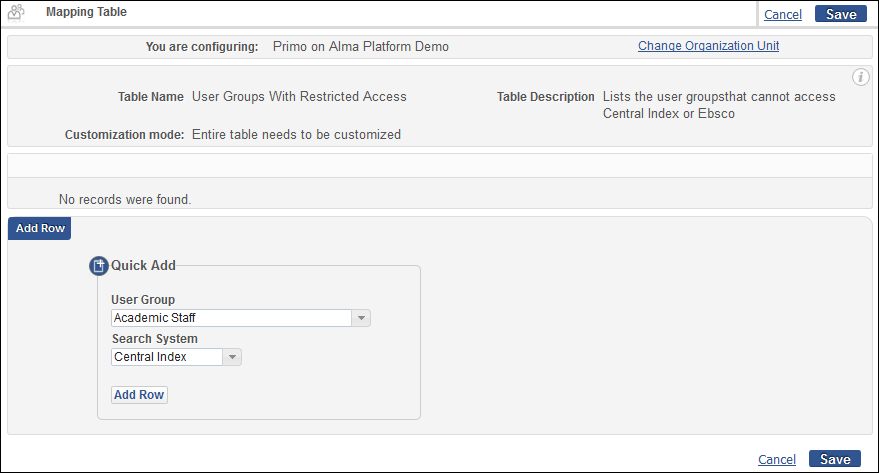
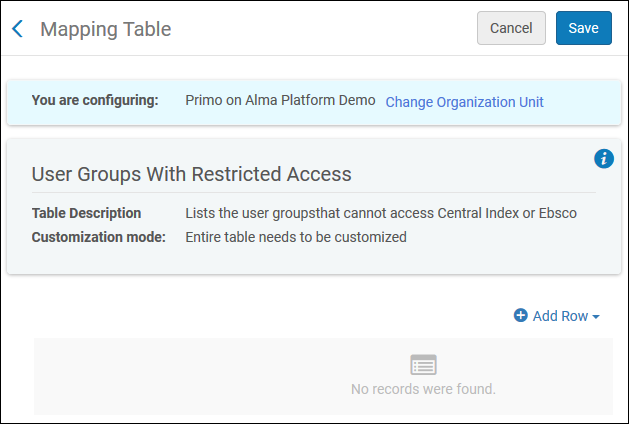 User Groups with Restricted Access Page
 -
Click Add Row to open the Add Row dialog box.
 Add Row Dialog Box
 -
In the Add Row sectiondialogbox, specify the following fields:
-
User Group– Select the user group to which you want to restrict access.
-
Search System– Select either Central Index or Ebsco.
-
-
Click Add Row.
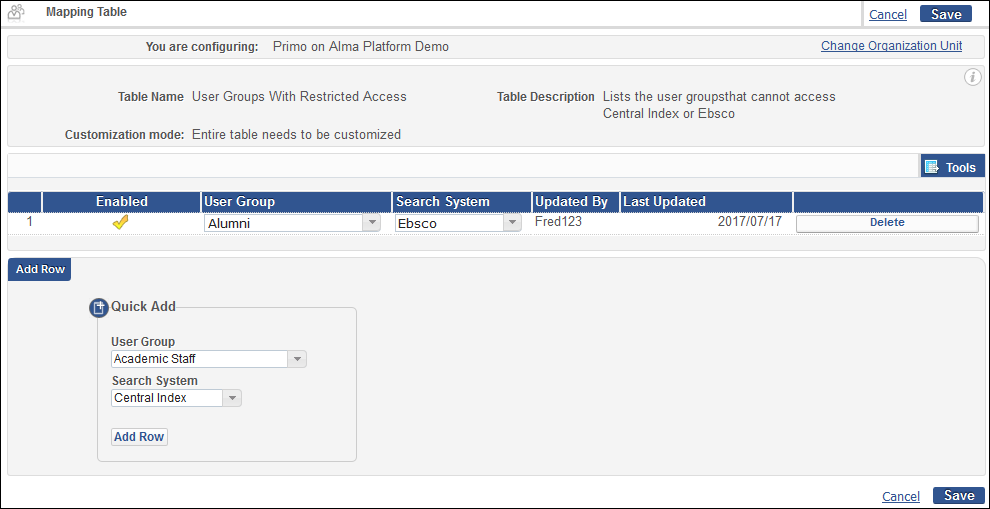
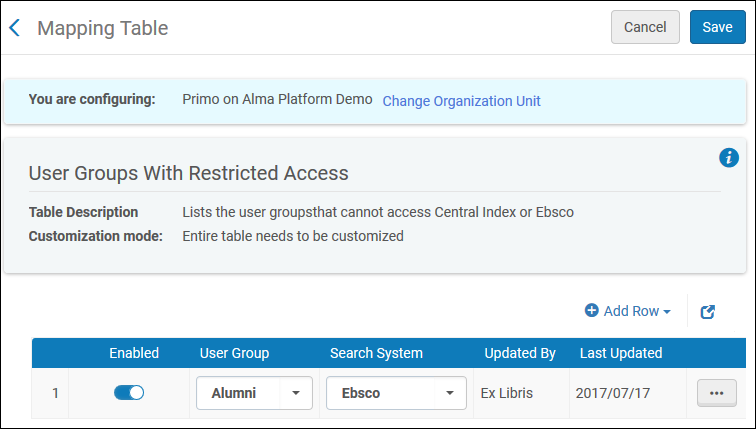 User Group Restriction Added
Next Month Sneak Peek
Features scheduled for next month include:
-
Search expansion– expanding search terms with additional variations based on controlled vocabulary
-
Persistent Facets– enabling users to retain facet selections throughout searches in a session
-
Sort in Favorites – sort by date, author, and title in My Favorites
-
Multiple Facet Selection – allowing users to include/exclude multiple facets at a time to filter their search results
Page tags: article:topicproduct:primocontent:Release_Noteslang:english
