
Configuración del panel de control
For links to online help pages related to collaborative networks, see Collaborative Networks.
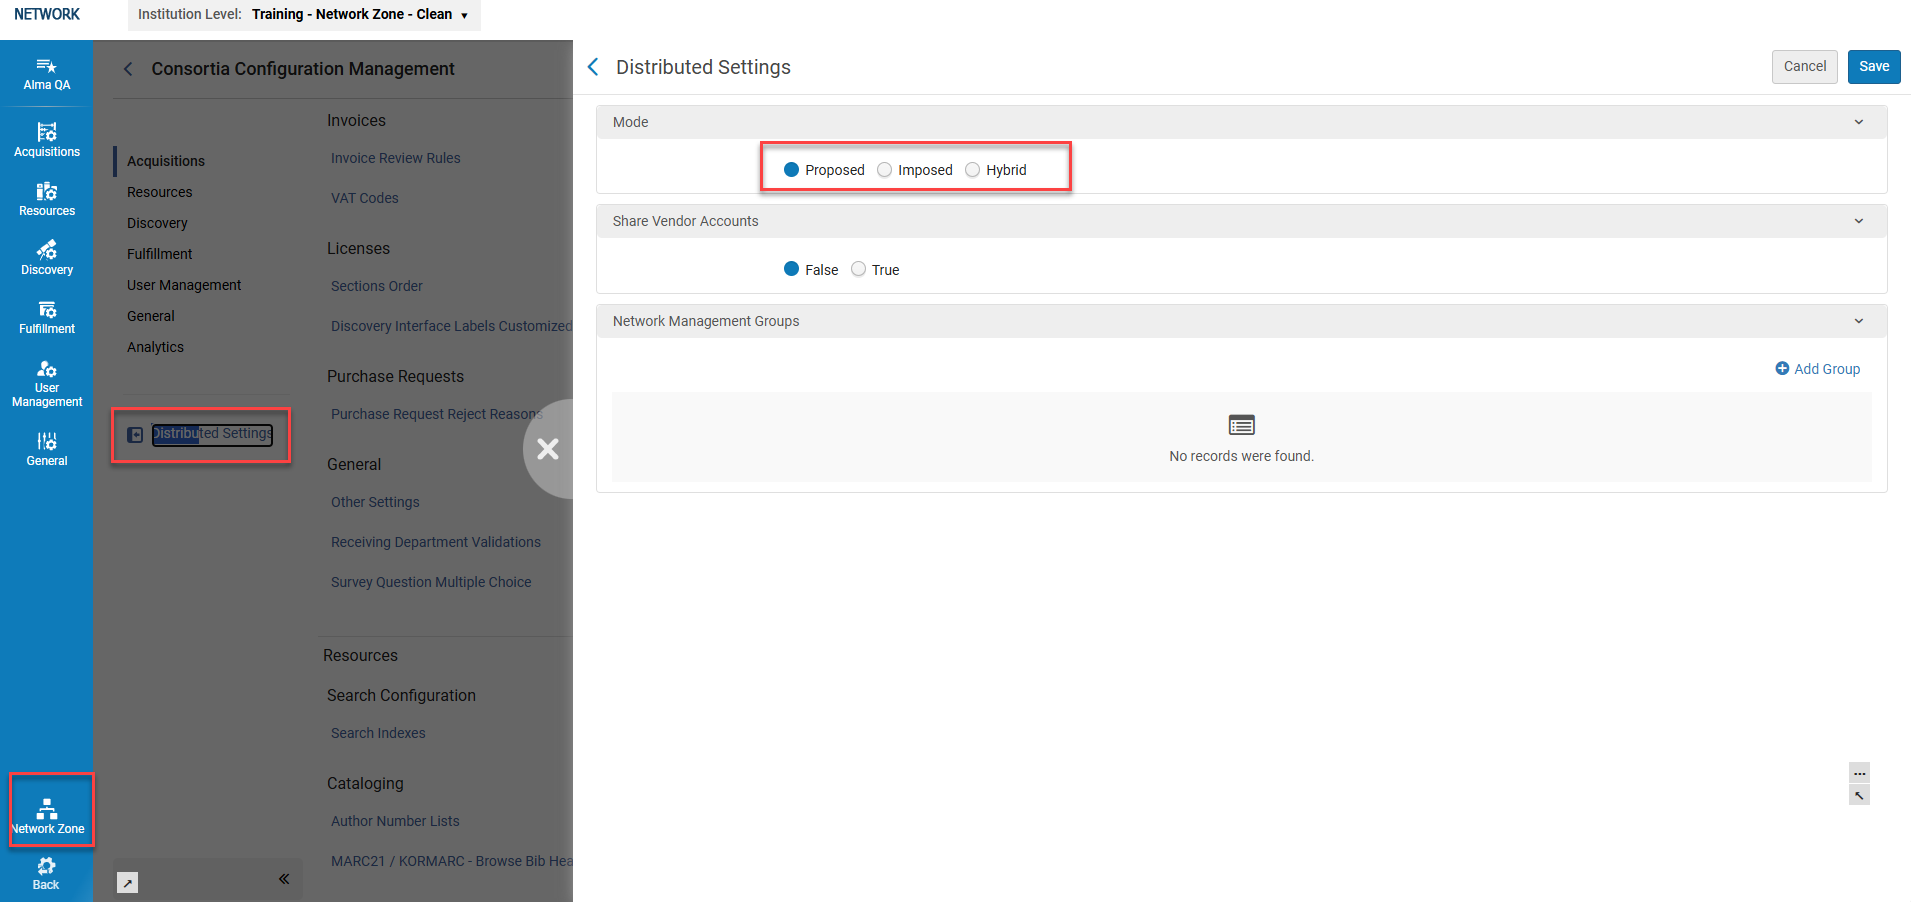
The dashboard is only visible at the Network Zone level and includes a link to "Distributed Settings," where operators can define:
- Distribution Modes: Proposed(default), Imposed, and Hybrid.
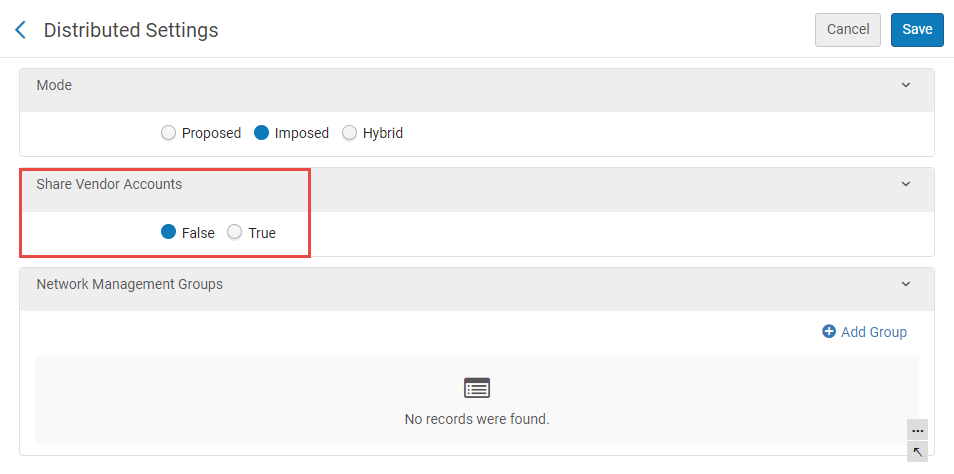
- Shared Vendor Accounts: This enables distribution of acquisition rules (True/False).
- Group Settings: Group multiple Institution Zones for distribution purposes, with group names available in dropdown for Distribute All or Distribute Selected actions.
Modo de distribución
Los administradores de la Zona de Red pueden distribuir las alteraciones de la configuración en tres modos diferentes:
- Proposed (default) - any configuration alterations (by the network administrator) are not demanded, but proposed. If any member has made customizations or changes to the out of box configurations in their environment, the Network Zone administrator's proposed alterations will NOT take effect.
- Imposed- any configuration alterations (by the network administrator) ARE demanded. Regardless of any customizations or changes to the out of the box configurations in their environment, the Network Zone administrator's imposed alterations will override any member configurations.La imposición de cambios de configuración a los miembros por parte de los administradores de la Zona de Red ignora y elimina cualquier personalización existente que hayan definido los miembros. Todos los ajustes de personalización de los miembros se borrarán, y este proceso no puede ser revertido. Member configurations will now match the Network settings, but only for the distributed configurations.
- Hybrid - enables the Network Zone administrator to select either the proposed or imposed mode during the distribution process.
- Go to: Configuration Menu > Network Zone > Distributed Settings. La pantalla de Ajustes distribuidos se muestra en el panel deslizante derecho.
- In the Mode drawer, select the desired distribution mode:Proposed,Imposed, or Hybrid.
- Select Save.
Cuentas de proveedores compartidas
Las configuraciones de las reglas de adquisición incluyen datos de proveedores que están disponibles en la Zona de Red para algunos consorcios pero que son innecesarios para sus miembros. Al distribuir una configuración de este tipo, los datos del proveedor podrían incluirse como parte de la configuración.
- Share Vendor Accounts is False, the distribution buttons will not be available for the Acquisition rule configurations.
- Share Vendor Account is True, the distribution buttons are available for the Acquisition rule configurations. En este caso, el proceso de distribución puede ejecutarse y también crea la información que falta (por ejemplo, datos del Proveedor) en la institución miembro.
Crear grupos de gestión de red
Instead of Network Zone administrators selecting members individually (one-by-one) to distribute the configuration alterations, they can create groups to simplify the distribution process. A group comprises of any number or subset of members that Network zone administrators define for the group. For instance, a Network zone has 60 members. Twenty members are large establishments, ten are medium establishments and the remaining thirty are small establishments. The groups: Large, Medium, and Small can be created to contain only those establishments for the relative group. Los administradores de la Zona de Red pueden seleccionar el grupo cuando deseen distribuir los ajustes de configuración. Solo los miembros de ese grupo seleccionado recibirán las configuraciones modificadas.
- Go to: Configuration Menu > Network Zone > Distributed Settings. La pantalla de Ajustes distribuidos se muestra en el panel deslizante derecho.
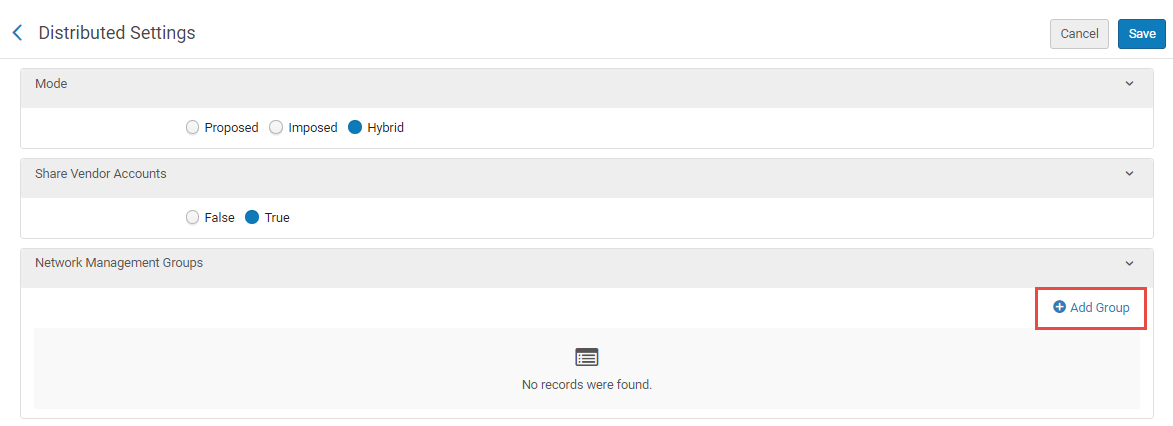
- In the Network Management Groups drawer, select
 Add Group.
 Añadir un grupo de red
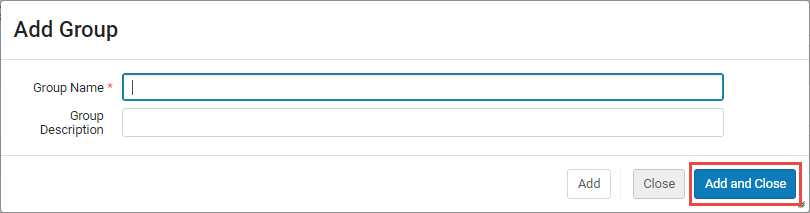
- In the Add Group window, define a Group Name(mandatory) and a Group Description(optional).
 Ventana Añadir grupo
- Select Add and Close.
The group name is created and is displayed in the Network Management Groups drawer.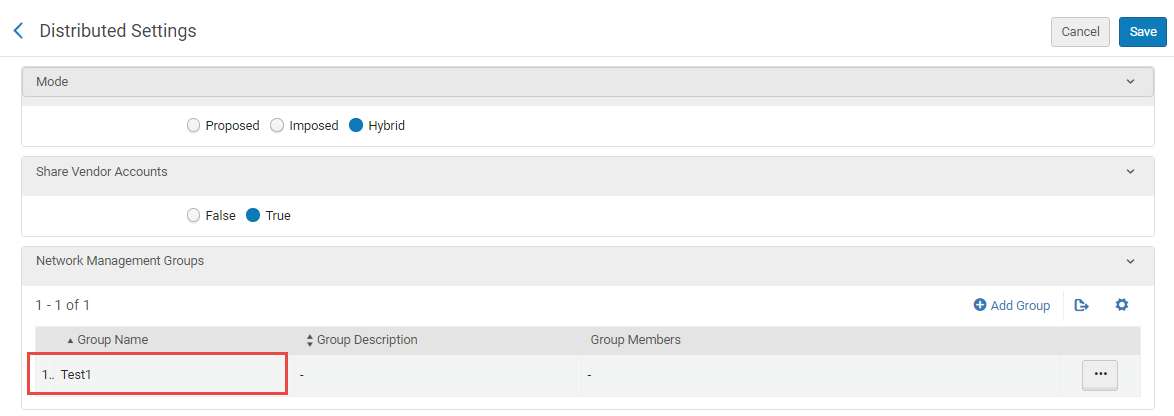 Nombre del grupo creado en la bandeja de Grupos de gestión de red
- In the desired group's row, click the row actions button (
 ) and select Edit.
The Networks Management Group Details window displays. - In the Add another member drawer, click in the field and either select the member(s) listed in the drop menu or type the individual member's name to add them to the group.
Multi-selection is enabled.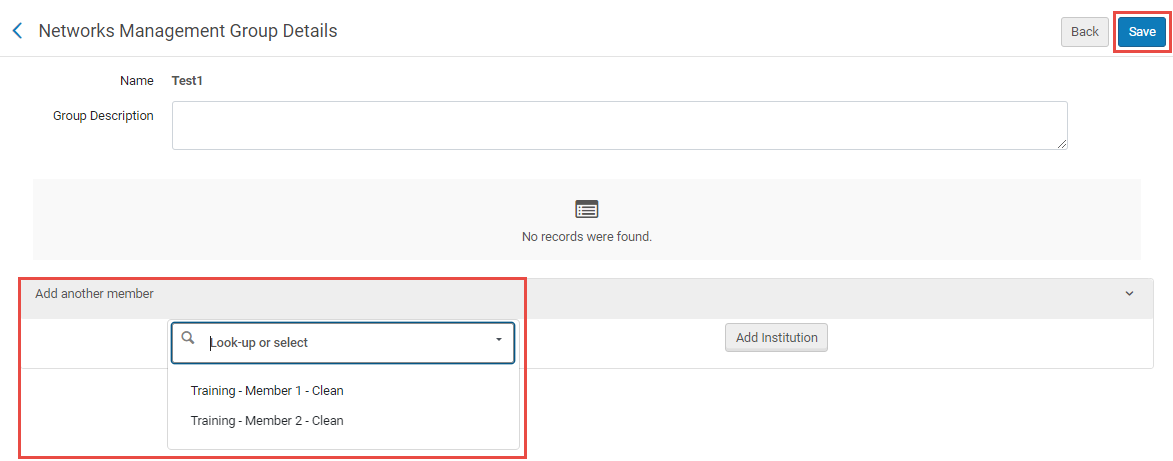 Bandeja Añadir otro miembro
- When all of the desired members appear in the Add another member drawer, select Save.
The group is created with the members defined.
