
Linked Data
Overview and instructions for configuring linked data integration type integration profiles.
To configure a linked data integration profile, you must have the following role:
- General System Administrator
Linked Data is a set of best practices for publishing and connecting structured data on the Web. Alma implements a RESTful API that exposes linked data in JSON-LD format. For information about configuring a linked data integration profile, see below.
- The linked data APIs apply to the production environment by default. To run them on the sandbox environments add ?env=sandbox.
- The linked data integration profile must be active if you want to export bibliographic records in RDA/RDF format. If the profile is inactive, the job will fail for this format.
See also:
- For implementation information, see https://developers.exlibrisgroup.com/alma/integrations/linked_data in the Ex Libris Developer Network.
- For information regarding linked data accessed from the Repository Search results, see Linked Data from the Repository Search Results.
- For information regarding linked data accessed from the Metadata Editor Linked Data tab, see Using Linked Data While Working with Bibliographic Records.
To configure the linked data integration profile for your institution:
- On the Integration Profile List page (Configuration menu > General > External Systems > Integration Profiles), select Add Integration Profile. Page 1 of the Add Integration Profile wizard appears.
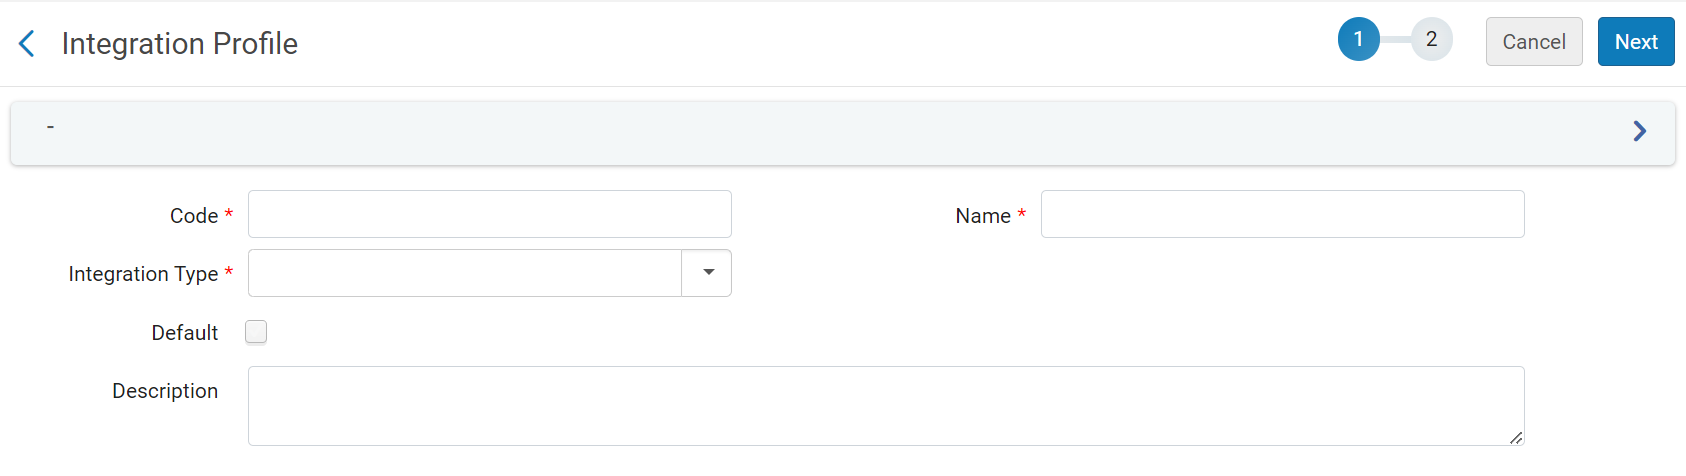
- Under Code, enter a unique code for the new integration type.
- Under Name, enter a unique name for the new integration type.
- Under IntegrationType, select LinkedData.
- Select Next. Page 2 of the wizard appears.

- On page 2 of the wizard, configure the following fields as required:
- Active- Select to enable the profile.
- Alternative Context URL – Leave empty to use the default context,cname.alma.exlibrisgroup.com/[format]/[works_or_instances]/[MMSID]. For example, bgu.alma.exlibrisgroup.com/bf/instances/9922819700121. If you want to use a different context object, enter its URL here. The @context field of the JSON-LD will refer to this context object.
- Base URL- Enable users to change the prefix of the URL not only for the JSON-LD output but also for all records generated with URLs, including BIBFRAME.
- Select Save.
Page tags: article:topic product:alma content:Documentation lang:english linked data
